Cut the paper.
Stack it, light it
Sheets of card cut into a pattern and laid one above the other, each a colour of its own, with the light throwing every sheet’s shadow on the next. Pick the cut, the colours and the light; save the picture. Das ist kostenlos. Wirklich.
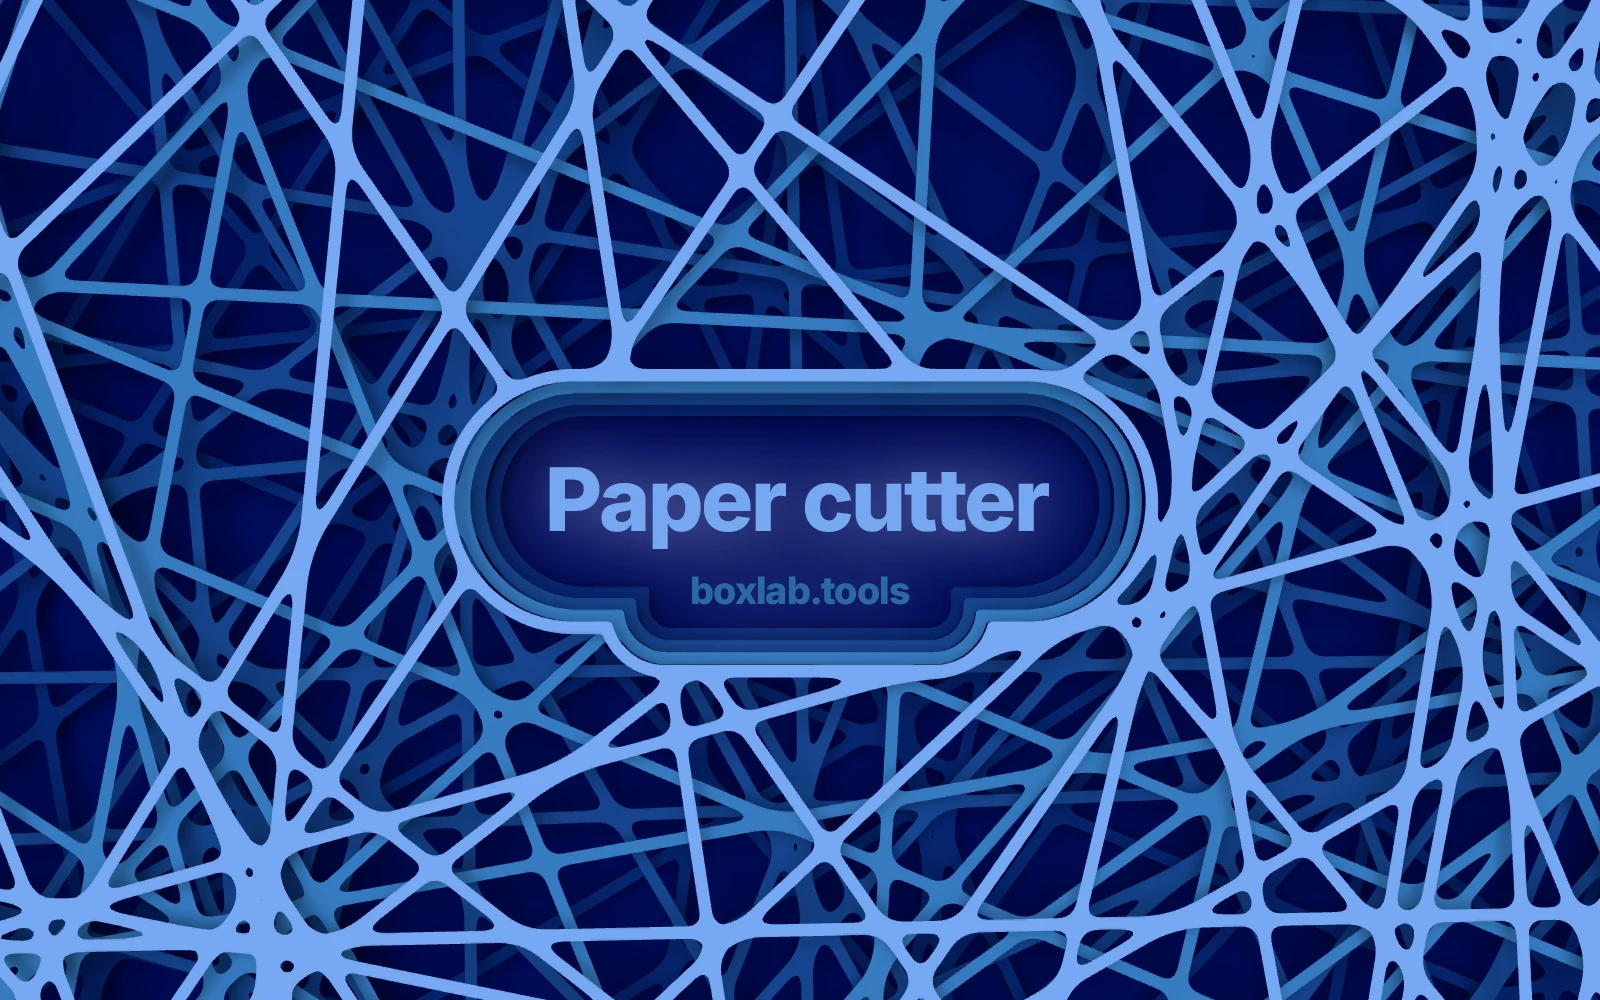
- A sheet to each colour.
- Four colours, four sheets, each showing through the holes of the one above.
- Twenty-eight cuts.
- Lines, rings, honeycomb, Voronoi, leaves, stars, spirals, webs, terraced landscapes, clouds, mazes and more.
- Corners like a knife leaves them.
- Where two cuts cross the corner is rounded, and how round is yours to set.
- Real light.
- A sun you can move, and soft shadows gathered the way a camera would see them.
- Room for a headline.
- Cut a hole through every sheet with a rim round it, stepping down like real card.
- Nothing uploaded.
- It all runs in your browser.
Every cut
All twenty-eight cuts, with the figures each one opens at
Nets, scenes and single sheets. The figures along the foot of each card are the ones the cut opens with; press a card to open Papercutter on it.
- Lines
- 30
- Width
- 60 %
- Repeats
- 8
- Width
- 2 %
- Repeats
- 11
- Width
- 30 %
- Repeats
- 8
- Width
- 15 %
- Repeats
- 14
- Width
- 30 %
- Repeats
- 10
- Width
- 30 %
- Repeats
- 8
- Width
- 25 %
- Repeats
- 5
- Width
- 8 %
- Repeats
- 9
- Width
- 20 %
- Repeats
- 9
- Width
- 20 %
- Repeats
- 10
- Width
- 20 %
- Repeats
- 18
- Width
- 35 %
- Repeats
- 12
- Width
- 25 %
- Repeats
- 22
- Width
- 45 %
- Repeats
- 4
- Repeats
- 5
- Repeats
- 10
- Repeats
- 10
- Repeats
- 10
- Repeats
- 12
- Repeats
- 10
- Repeats
- 12
- Repeats
- 10
- Repeats
- 9
- Width
- 80 %
- Sheets
- 1
- Repeats
- 9
- Width
- 70 %
- Sheets
- 1
- Repeats
- 22
- Width
- 50 %
- Sheets
- 1
- Repeats
- 18
- Width
- 50 %
- Sheets
- 1
- Repeats
- 12
- Width
- 55 %
- Sheets
- 1
Mask mode
Leave room for the headline
Cut a clear area through the sheets for a headline, a logo or a product. Below are the shapes a mask takes and what each one does.
Rectangle
- Cut a clear area in the shape of a rectangle
- Set its place, its size and how far the corners round
- Turn it to any angle
Circle
- Cut a clear area in the shape of a circle
- Set its place and its size
- Good for a product shot or a logo
From the edge
- Clear an area from an edge or a corner of the page
- Point it in any direction
- Set how far in the clear area reaches
Several masks
- Use more than one mask on the same page
- Give each its own shape, size, place and turn
- Areas that overlap are joined automatically
Stepped rim
- Every sheet stops a little short of the one above
- The hole steps down round the clear area
- Each step throws its own shadow
Inverted
- Keep the cut only inside the area you set
- Use any of the mask shapes
- Everything outside the mask is left plain card
How it works
From a cut to a finished picture
Pick a cut, set the sheets up, light them and save. Every change shows on the page at once.
Pick a cut
Nets, scenes or a single sheet of channels. Each cut opens at figures that suit it.
Set the size
Choose a screen, social, wallpaper or print size, or type the exact pixels.
Set up the sheets
Repeats, spacing, line width, variation and the radius where two cuts meet.
Set the colours
One colour to a sheet, from a set or your own, over a ground of its own.
Light it
Move the sun, set the shadow and gather soft shadows the way a camera sees them.
Set up the mask
Cut room for a headline or a logo, with a rim stepping down round it.
Save
PNG or JPEG at the page’s own size, or a layered PSD.
Where it is used
Design, packaging, print and screen
A picture of cut card that nobody had to cut, at the size the job needs.
Graphic design
Covers, posters and title pages with depth. Use a mask to leave room for the type.
Packaging
Sleeves, wraps and box fronts that look die-cut and layered, without the die.
Pages at 300 dpi in the sizes print asks for, saved as a picture ready to place.
Web and screen
Hero backgrounds, wallpapers and screen sizes in pixels, quiet enough to set type over.
Presentations and social
Title slides, posts and stories in one colour set across every size.
Illustration
Hills, mountains, forests, seas and cities, one layer behind another — the cut-paper look.
Questions
What you need to know about Papercutter
Card in, a lit paper cut out.
Pick the cut, colour the sheets, move the sun.